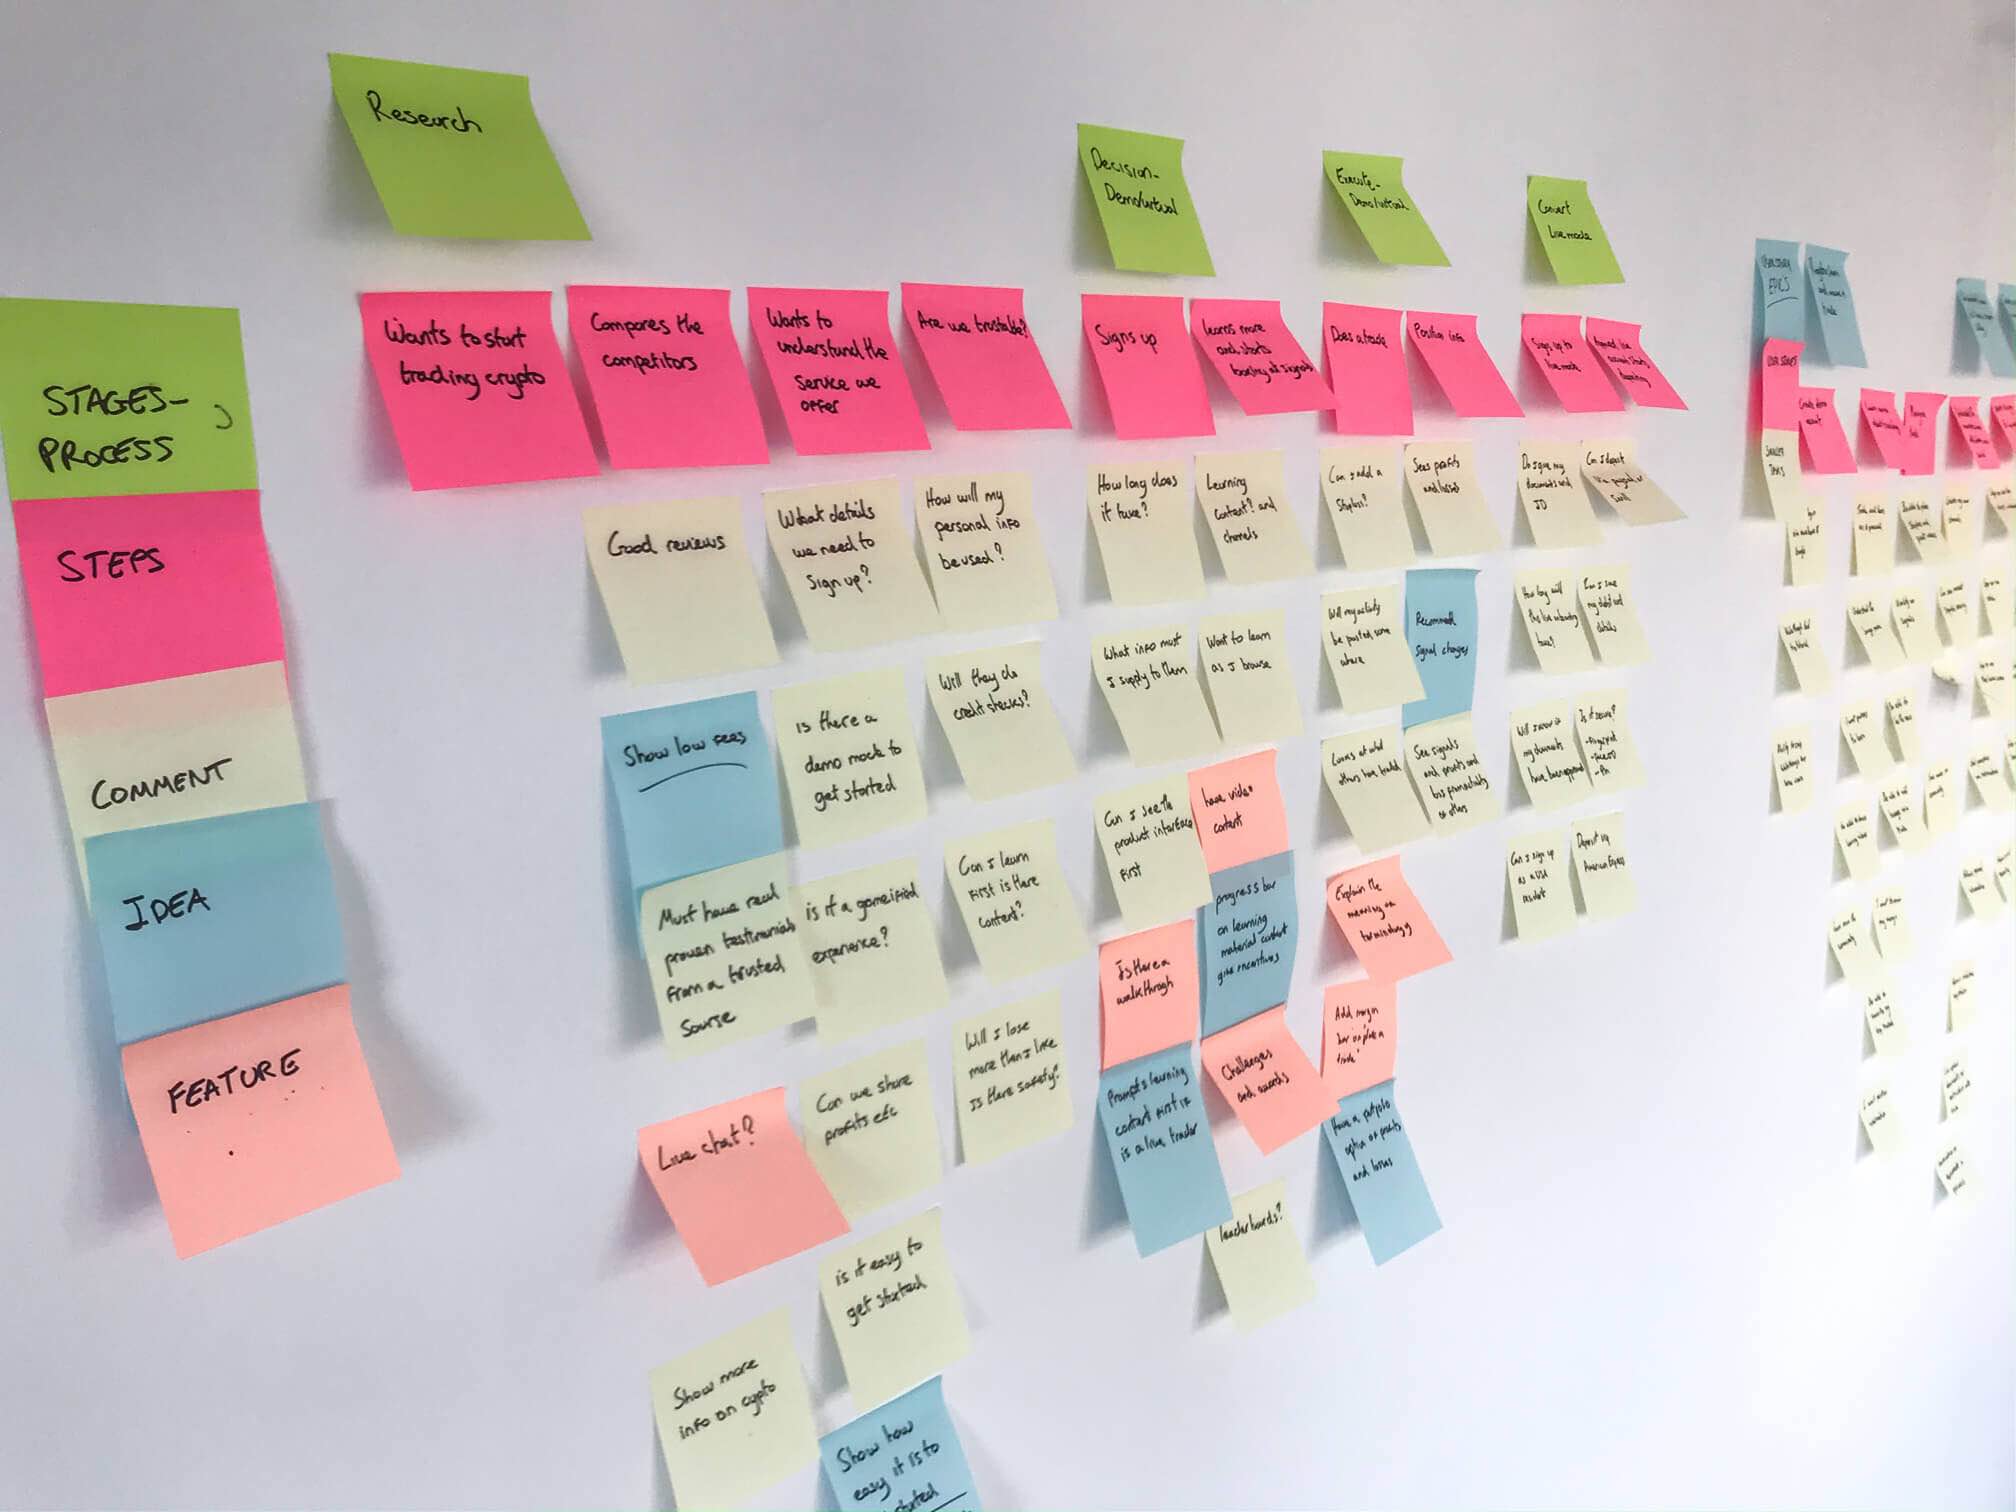
A clear story map turns scattered ideas into a focused narrative blueprint, guiding you smoothly from concept to completed first draft. Follow these steps to structure your tale before you begin writing so every scene advances your plot, deepens character, and sustains momentum.
Key Takeaway: A robust story map balances overarching structure with flexible creativity, ensuring you stay on course while leaving room for inspiration.
1. Define Your Core Concept
Clarify the seed from which your story grows.
- Premise Statement: One sentence that captures protagonist, goal, and central conflict.
- Genre and Tone: Decide whether it’s a gritty thriller, sweeping epic, cozy romance, etc.
- Theme Exploration: Identify the central idea (e.g., redemption, identity, sacrifice) you wish to probe.
2. Sketch Your Protagonist’s Journey
Plot your hero’s emotional and external arc to align character growth with story events.
- Starting Point: Protagonist’s ordinary world and primary flaw.
- End Point: How they’ve changed and what they’ve achieved or lost.
- Turning Points: Three pivotal moments that force growth or failure.
3. Outline the Three-Act Structure
Use the classic framework to map major beats and maintain pacing.
| Act | Purpose | Key Beats |
|---|---|---|
| Act I | Setup and inciting incident | Opening image, inciting incident, first turning point |
| Act II | Rising action and mounting stakes | Pinch point, midpoint reversal, second turning point |
| Act III | Climax and resolution | Climax, falling action, final image |
4. Break Acts into Sequence or Scene Cards
Transform beats into manageable chunks.
- Write a one-sentence sequence card for each 1,500–3,000 words section.
- Drill down with scene cards: include setting, characters present, goal, conflict, and outcome.
5. Layer in Subplots and Supporting Arcs
Weave secondary character goals and thematic threads without derailing the main plot.
- Identify two to three subplots (romantic, moral dilemma, mentorship).
- Decide where each subplot intersects the main arc—often at midpoints or turning points.
6. Establish Scene Goals and Stakes
Before writing each scene, ask:
- Objective: What does my protagonist (or viewpoint character) want here?
- Conflict: What obstacles prevent them?
- Change: How does the scene move the story forward or reveal character?
7. Build a Timeline and World Map (If Applicable)
Ensure events unfold in logical sequence and settings remain consistent.
- Create a simple timeline noting dates or sequence order.
- Sketch a map of key locations or a location list with salient details (climate, mood, culture).
8. Plan Your Opening and Closing Images
The first and last impressions bookend your narrative.
- Opening Image: Evoke the protagonist’s ordinary world and mood.
- Closing Image: Reflect transformation and resonate emotionally.
Story Map Worksheet
Use this worksheet to organize your planning in one place.
| Section | Details to Fill In |
|---|---|
| Premise Statement | |
| Theme | |
| Protagonist’s Flaw | |
| Protagonist’s Arc (Start → End) | |
| Act I Beats | Inciting Incident, First Turning Point |
| Act II Beats | Midpoint Reversal, Second Turning Point |
| Act III Beats | Climax, Resolution |
| Subplots & Entry/Exit Points | |
| Scene Card Example | Title, Setting, POV, Goal, Conflict, Outcome |
| Timeline | List of key events in order |
| Opening Image Description | |
| Closing Image Description |
From Map to Manuscript
- Batch Your Drafting: Write scenes in thematic or act-based batches to maintain focus.
- Allow Flexibility: If new ideas emerge, update your map rather than abandoning it.
- Track Word Counts: Set mini-targets per scene or sequence to monitor progress.
- Stay Accountable: Use daily or weekly goals, or join a writing group, to sustain momentum.
By crafting a comprehensive story map before typing the first word, you’ll write with direction and purpose—transforming your initial spark into a vivid, compelling first draft.


